Wednesday 5 March 2014

Webley and Scott Hawk Mk II accuracy at 30 Yards and other stuff


The Webley Hawk with the two Relum springs fitted can put out 10 ft/lb with manageable recoil, however it did cause the 3-9x40 AGS scope to shift as the Hawke medium mounts needed fitting more securely. So with the screws tightened all the way up and the stop pin pressing tight down on top of the compression tube I took it down the woods for a test, i had also built a new bit of stock for the pump arm on the SMK B45-3 as the old one was too short and moved. So the multi pump could have a field test as well, it would be nice to see how well the open sights worked now the rear sight had been moved forward a bit.

Webley and Scott Hawk Mk II and SMK B45-3 multi pump, both in .177.

I sighted the scope at a little over 10 yards, then moved back to a tree a little over 30 yards away and resighted. My shooting position was sitting with my back against the tree with the rifle supported on my fore arm which was wrapped around my knees, this is quite comfortable and the rifle is nearly as stable as it would be in a rifle rest. I have found that i had to concentrate on my breathing in this position, and my heartbeat can effect the shot a little as the rifle is rested against my shoulder no matter how lightly.

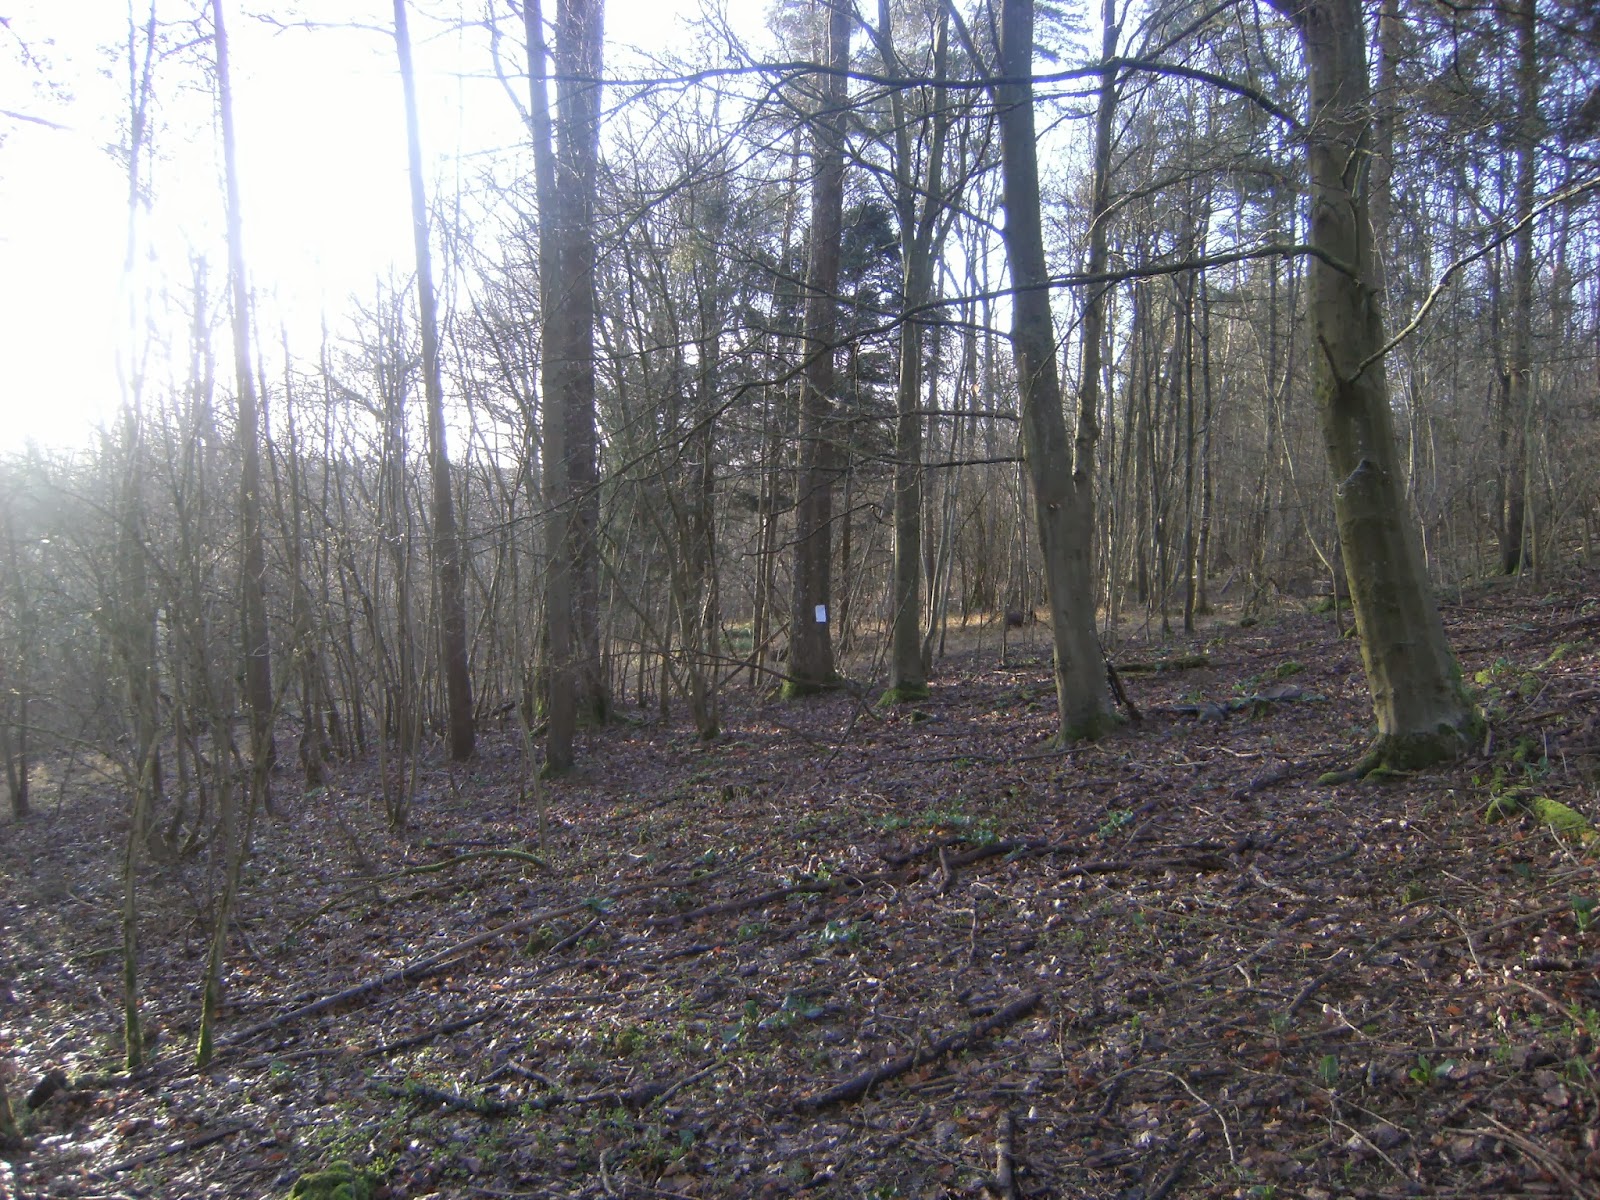
A4 target paper on a tree 30 yards away.

Changing the target paper i then shot groups of 8 or 10 shots, and though the sun did interfere with the scope a little the groups were generally about an inch and a bit with .177 RWS Superdomes.

Not the best 8 shot group of the day, but most the groups were similar to this.

The scope did shift a little but stopped and the only spread in the groups were from left to right, which i would put down to the sun shine in my scope and a slight side wind. All in all the Webley Hawk Mk II with the .177 barrel would appear to be a capable hunting rifle out to 30 yards at least, maybe a bit further once i got to grips with it's hold over and any side wind.

SMK with the original stock and pump handle.

Happy with the Hawk i started on the open sights on the SMK B45-3 .177 multi pump, the rear sight had been moved forward and the square notch and post were a tight fit and proved to give good accuracy. I love this air rifle because it is so accurate with a scope fitted, it can give ragged hole groups out to 40 yards at times and that was with the old stock.

SMK with new stock Mk I, the bend in the pump arm is exposed.

Making a new stock for it made it feel more comfortable to shoot as  the combe held my head at the perfect height for the scope, But the stock on the pump arm was a bit short. So i built a new longer piece with the last of the wood i used to build it, which made the pump arm a lot more stable and secure.

SMK with new stock Mk II, does it really look like i want an Air Arms s410?

Happy with both air rifles i spent the rest of the afternoon shooting both of them at a hole in a steel drum some 40 yards away, i moved a bit closer for the multi pump as i couldn't see the hole without a scope from 40 or 30 yards.


Well it looks like i did want an s410 after all.


I must have put half a tin of Superdomes through the Hawk and nearly all went through the 1 1/2 inch wide hole, those that hit the drum still had plenty of energy and splatted flat against the metal.

A couple of mullered .177 Superdomes from 40/45 yards down range, these were hard to find as most were on target and passed through the hole.

It would be nice to get the other .22 barrel for the Hawk now the power plant is working well, also i reckon fixing the stock so its more like the Mk I and earlier Mk II and a reblue would not be wasted on this lovely 70's British springer. 

TTFN

Wing Commander Sir Nigel Tetlington-Smythe


.22 BSA Meteor Mk IV Reassembly

In a far flung corner of the kitchen, south of the bread bin and east of the kettle, just past the pile of battery chargers and assorted bike lights, sat the dismantled BSA Meteor. It sat there for a week and every time i made a cup of tea or dinner, i thought, i really should put this back together and get some pictures. So one day while i had a korma simmering away, it , the tool kit, and all my other bits and bobs got moved to the kitchen table and work commensed.

 The serial number puts this as a late model MkIV.

Even though this air rifle is about four decades old, general wear a tear had not removed all the burrs and sharp edges, so attaching a small grinding head to the Draper mini drill i gave the rifle a once over. 

Removing burrs from where the cocking arm is fitted.

Removing the sharp edge to the piston and compression tube cocking slot by gently running the grinding head along, 

Old air rifles still have a sharp edge on the piston as a rule.

and the edges and corners where the cocking arm goes in as well as the inner edges of the holes for the main spring retaining pin. 

Main spring retaining pin holes tend to need deburring to protect the piston seal.

Then using the cleaning rod with some white spirit on some kitchen towel i cleaned the inside of the piston and compression tube, i didn't want any tiny bits of metal dust from the grinding buggering up the O ring seal.

Clean the metal dust out of the tube and piston before reassembly.

The piston with the old O ring would slide half way down the compression tube with my finger over the transfer port telling me the O ring seal was very worn, 

With the old piston seal this is where the piston rested with the transfer port blocked.

so the O ring seal came off and a new one was sized up from the big red box of O rings. 

A slightly undersized O ring makes a good fit as a general rule.

 The inner diameter of the compression tube is 26 mm but a 3 mm thick O ring that size  was a tad to big on the piston, so going the next size down had the O ring fitting the piston head pretty snug. It was also a snug fit in the compression tube and stayed were it was when i tried to push it down with my finger over the transfer port, and took very little pressure to move the piston when i removed my finger from the transfer port, perfect!

With new O ring the piston stays at the top with the transfer port blocked

Applying a little Abbey SM2 to the O ring seal and some Abbey LT50 below the piston head and on the skirt,

A touch of Abbey SM 2 for the O ring seal.

A dab of Abbey LT50 (moly grease) for the head and skirt of the piston body.

 the piston was fitted into the compression tube with both cocking slots aligned. I cleaned the mainspring and polished the ends with the mini drill as it saves time and blisters,

Just a few of the many useful attachments for the mini drill.

 and applying a liberal amount of LT 50 grease and a a bronze slip washer to the end i fitted it in the piston. 

Bronze slip washer, main spring, and not too much moly grease.

The washer that sits at the end of the spring guide and holds the main spring is a little chewed up, so another bronze slip washer was placed between it and the main spring. With a little LT 50 grease over all surfaces it was put in the end of the main spring, i left out the 4 mm delrin spacer i had in it from last time. I made sure the washer was a tight as possible to the spring guide, as it slips down the guide and rests against a slight lip.

Spring guide, spring support washer, and bronze slip washer before a light coating of moly grease.

Placing the compression tube assembly in the spring compressor with the fitting tool in place the two inches of pre load was pushed back in, it needed a light guiding hand to get it past the end of the tube. 

Min spring removal tool will need guiding by hand as it enters the compression tube.

The spring guide stayed where it was and had to be teased up with a screw driver so the retaining pin would fit, it also aligned the retaining pin holes with the cut out in the special tool. 

Screw driver will clear the path of the retaining pin.

The retaining pin slipped in the right way around and pressure was released from the spring compressor, there is a little chip out of the shaped side if the retaining pin but it's not on a pressure bearing side.

 The pressure bearing side of the pin is on the undamaged side as the spring compressor is released.

The barrel had a crap home made delrin breech seal which was removed and cleaned, and a spare breech seal i had sitting in the spares box put in it's place.

New BSA breech seal is fitted.

 Over the years the pivot pin in the breech had worn the breech hole a tad wider making the the barrel loose and move in the forks, and the only way to fix this without replacing the barrel is to shim the hole.

A very worn pivot pin hole on the breech.

 I originally used a piece of bar the same diameter as the pin to hold a shim cut from a tango can in place in the breech when fitting the pivot pin, i had lost that so i used a piece of 6 mm wooden dowel which had swollen slightly to the .25 inch which is the diameter of the pin..The dowel was cut so it was the same width as the breech and a strip of shim also cut to that size, the shim was wrapped around the dowel and where it creased where it met the start of the shim it was cut. 

Shim material is rolled around the dowel and cut to size.

Applying a little spot of LT 50 to the breech hole the dowel with the shim around it was pushed in sightly. The detent bar and spring were greased a replaced, 

Moly grease the detent bar and spring

and pushing it down on the back of a chair the dowel and shim where pushed all the way in so they were flush with the breech holding the detent bar in place.

Dowel and shim holding the detent bar in place.

The forks had been bent out because the stock screws had bit into the stock and push the tabs below outwards by pressing against the breech, i had bent them back in the vice making sure i had something between them so as not to damage them. 

Pressure from a vice staightens out the forks.

With this done the barrel breech was very tight between the forks, slipping the breech behind the pivot hole upside down and flipping around so the holes lined up. Making sure the lightly greased pivot pin was entering the right way around through the left hand fork it was gently tapped through the breech with a rubber mallet, the pin pushed the dowel out the other side leaving the shim behind. 

The barrel is uncocked at this point so the pivot pin can drive all the way home.

When the pin reached the other fork the barrel was cocked making it easier to guide it all the way home, as i didn't want to knock the forks out of alignment again.With the barrel fitted the cocking arm was ground for sharp edges, cleaned, greased both ends, then fitted into the compression chamber, then the breech.

Fitting the cocking arm with a dab of moly grease at each end.

Getting on to the trigger i had noticed that a small bit had broken off that held the spring,it held but needed cutting deeper to make it more secure.

The trigger with a bit broken off it seems to be made of cast metal.

So a deeper groove was cut using the cutting disk off the mini drill, this also has a benefit by creating less tension on the trigger.

Cutting a lip to hold the trigger spring securely.

Now the sear could be replaced, followed by the trigger, then the stop pin behind that.

The fitting of the pins in the trigger assembly is reletively easy.

Now the action and barrel were sorted the plastic end cap can go on the back, the stock was attached by the trigger guard screw a little, then the guard was slipped in and the screw tightened by finger then finished with a screw driver.


I sometimes have to waggle the trigger guard slightly to slip it into place.

Finally the front stock screws had to have enough washers to make sure the forks weren't pushed out when tightened, ideally some sort of brass cup would do the job here.


The forstock screws are pretty knackered, but hold tight with some washers to stop them pushing the forks apart.

Seeing as the rear sights were missing i decided to fit the Rangeright 4x32 scope for testing, i dont know what it is about me and old BSA's but they are always missing the rear sights when i get my hands on them.


Ready for a trip to the woods.

That's the Meteor sorted for now, all i need to do is sight it in and see how it does. If all goes well with that then i might clean and oil the stock and put some enamel paint on the metal work, mind you i quite like the bare metal finish when it's cleaned, polished and oiled.

TTFN

Wing Commander Sir Nigel Tetlington-Smythe