Showing posts with label Multi pump. Show all posts

Sunday, 11 June 2017

The Original Japanese Mk II 177. Sharp Innova Multi-pump Air Rifle, Review and Accuracy Test


The Sharp Innova is not a pellet fussy air rifle.

Oh no! Not another bloody blog about the bloody Innova!


In my most honest and humble opinion the Sharp Innova is an awesomely but simply designed multi pump air rifle, people in general tend to either love it or hate it, i myself, you may have gathered, i love it (Not unlike Jeremy Corbyn, old, honest, and reliable). This is the original Japanese Sharp Innova i'm talking about,not the later Chinese and Pacific Rim copies, and not that bloody awful Webley Rebel either.

A well thought out design, nice and simple.

Externally it has a rather blocky stock and forearm (the wood is solid and does not splinter or chip as a rule),

Though stained and varnished, the woodwork is solid.

a polymer/plastic reciever,

Even the plastic reciever is pretty tough.

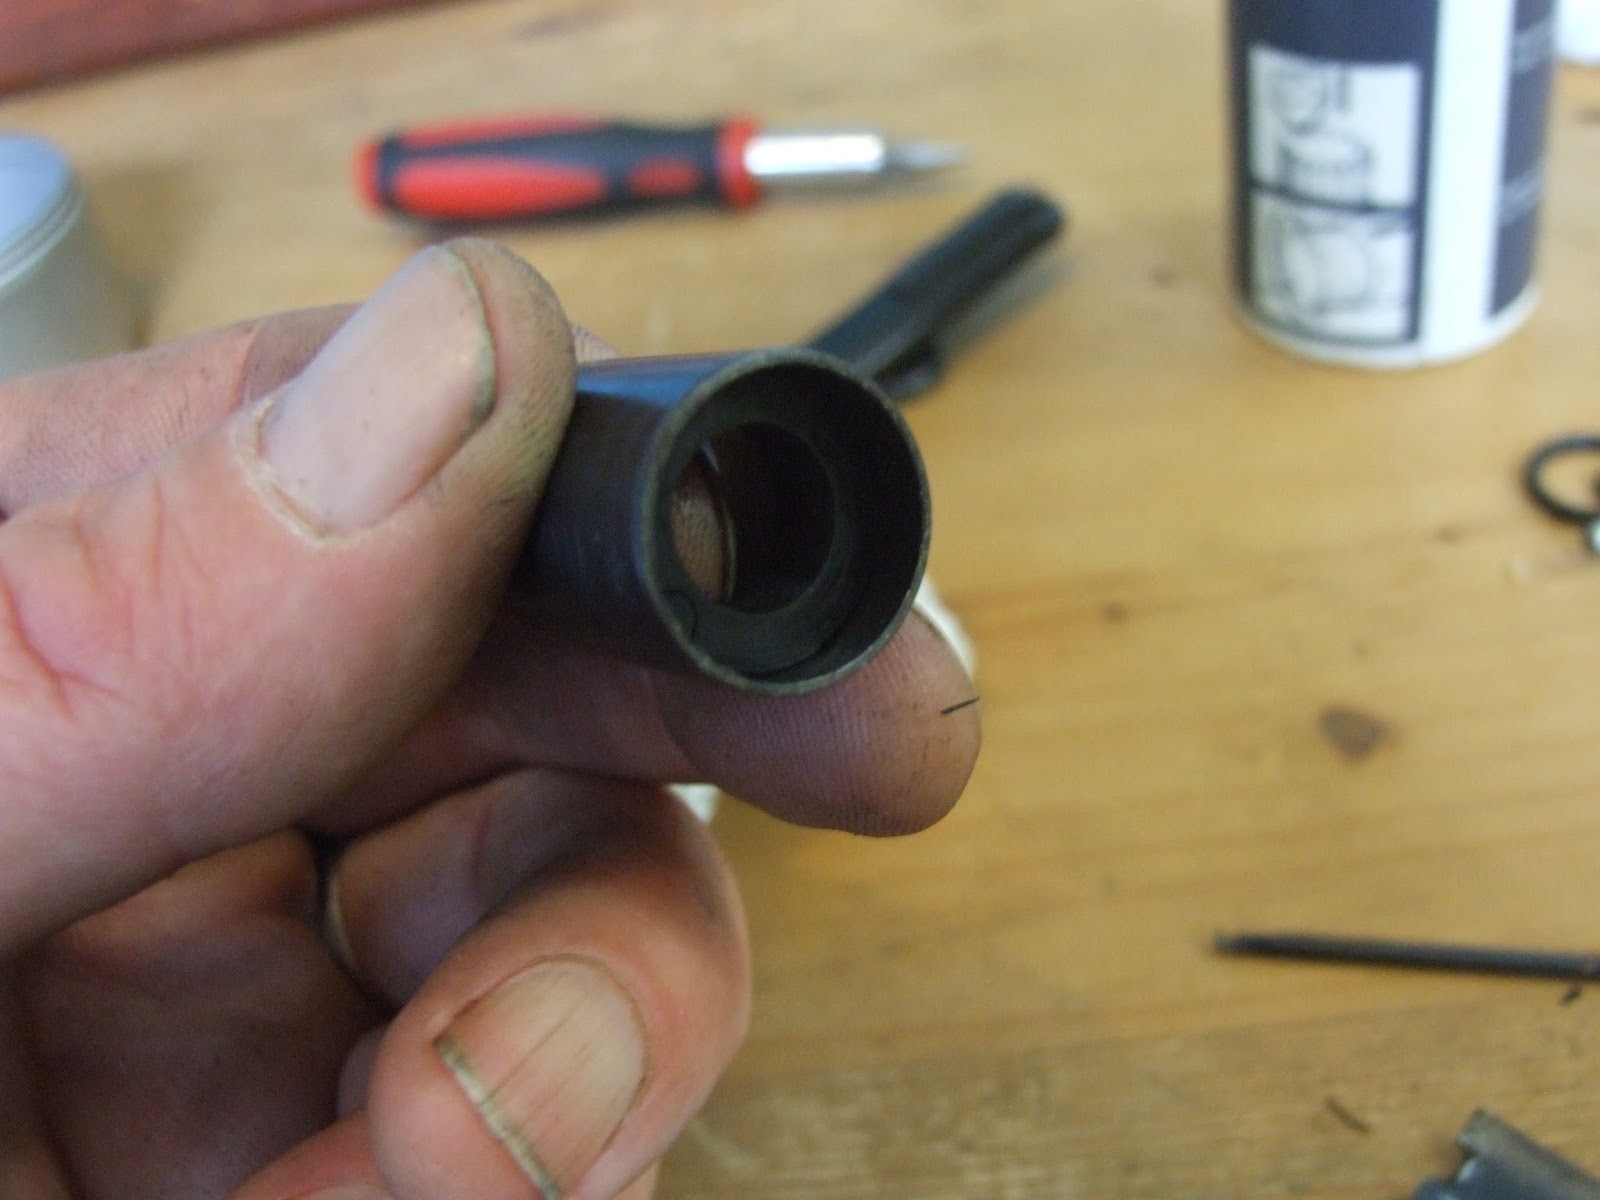
and front sight housing that supports the metal barrel, pump tube and pump arm, a 10mm rifled inner barrel, and annoyly brittle plastic outer barrel sleeve

Some parts can be easily bodged

 At 90 cm's long the rifle feels compact and well balanced,

Compact little powerhouse.

The stock is held onto the reciever with one screw that secures it to the brass valve within the compression tube inside the plastic reciever, this is the heaviest and most solid part of the rifle body.

Without this one screw the whole thing falls apart.

The forearm is held onto the pump arm with two metal pins, this gives a comfortable hold for pumping.

A small piece of rubber inside the pump arm reduces the noise of pumping.

  Besides having MkII written on the reciever the only other things to denote it externally as a MkII are the plastic buttpad,

It may be ineffective as a butt pad but it does add character.

and a metal safety switch on the metal trigger guard that stops the plastic trigger from moving when engaged. There is also a small ajustment screw on the trigger which alters 1st stage travel, these tend to be missing on most 2nd hand Innova's and really is of no great loss too the airgunning world.

The safety is not automatically set, which to most people is a bonus.

When Sharp Introduced the Innova to the public in the late 70's/ early 80's the idea of all this plastic went against the grain with a lot of people, but the majority who actually got to use one soon realised it was a very accurate, powerful, and reliable air gun. The use of plastic for many external pasts proved to make it very robust with no blueing to scratch up, after 30 odd years though the plastic has started to get brittle in places and i've had my fair share of Innova's with chipped and snapped off bits. Still i have managed to fix, bodge or by-pass many of these problems, ending up with a rifle that handles as good as it ever has.


Loading pellets can be a little fiddly at first, until one gets the hang of it. With the rifle held at a 45 degree cant and a pellet placed at the bottom of the loading port, the pellet will easily roll into the breech with a small tilt of the rifle. 

The problems of a small and fiddly loading port can be easily overcome.

The bolt is sprung loaded, when the small catch at the rear of the reciever is pushed down the bolt springs open. 

The recess in the bolt is for the lever to hold it in place.

Once the pellet is loaded the bolt is pushed back in place into the reciever and seals the breech, the catch lever is pushed back up under spring tension to hold the bolt in place. 

Bolt held in place under spring tension.

Two O rings on the bolt seal the breech, loading the pellet is best done after the rifle has been charged/pumped up.

The rifle is kept under 12 ft/lb using an adjustable blow off valve built into the pump head, most Innova's will blow off excess air and leave enough air pressure to fire a pellet within an 10 FPS spread over many shots.


The large pump head houses the valve for blowing off excess air pressure.

Before any tinkering is done on the rifle, 7 or 8 pumps will charge it enough for one full powered shot.  After fine adjustment of the pump assembly, it is possible to get 12 ft/lb with 4 or 5 pumps in .177 and 3 or 4 pumps in .22.

 Supporting the rifle by the back of the reciever and pistol grip allows for the most effective pump stroke.

Squeezing the trigger will dump all the air in the valve and fire the pellet, this rifle has an exhaust valve where a sear block holds the firing pin in place. Moving the sear out of the way of the firing pin allows the pressurized air in the valve to force the pin back, with the valve empty a spring will push the firing pin back in place to seal the valve for the preparation of the next shot.


An adjustable butt pad would be a good investment for this rifle.

The pump arm swings back 60 degrees to allow air into the compression tube,


The pump arm at full extention, the front sight housing stops the pump arm from going any further.

more force is needed on the pump arm the more pumps applied. The same with the trigger pull, because the more pressure that is in the valve the harder the firing pin pushes against the sear block and the harder it is to move it with the trigger. At 12 ft/lb the trigger release is still comfortable so the Innova is still very accurate, this is due to the trigger pull, a decent barrel, and the near zero recoil of a pnuematic rifle.


Shooting offhand in windy conditions does not make for the most accurate of groupings.

Fired from a rest in good conditions sub half inch groups at 25 yards are easily achievable, however a scope is usually needed for these better results.

I must get a pellet trap as the kids get really annoyed when i shoot their toys.

A simple rear open sight that clamps onto the scope rail comes fitted to the rifle, unfortunatly these tend to get lost easily as is the case with all but one of the many Innova's i have had the good fortune to own or work  on.

An Innova in decent condition for sale at around £200 will sell easily, and if it's well cared for all it's life will still be working and have all it's original parts. However, if someone has tried to ramp up the power on one in the past, it will have put excessive wear on a lot of the parts. Luckily replacement parts are reletively cheap and available from various places, they are also pretty easy to work on (I've done more than enough blogs about Innova's in the past to prove this).

My opinion? Good air rifles, i love 'em.


All the best,

Wing commander Sir Nigel Tetlington-Smythe


Thursday, 24 September 2015

.22 Mk I Sharp Innova, A Restoration Project. Restoring The Exhaust Valve, A Detailed Guide.


This blog entry is going to be in as much detail as I can manage, as I want it to be the sort of thing that I would have found really helpful the first time I worked on the Sharp Innova. I have already stripped and inspected this air rifle in a previous blog entry HERE , so today I will repair the exhaust valve using the T.R Robb Sharp Innova seal repair kit and test the power output.

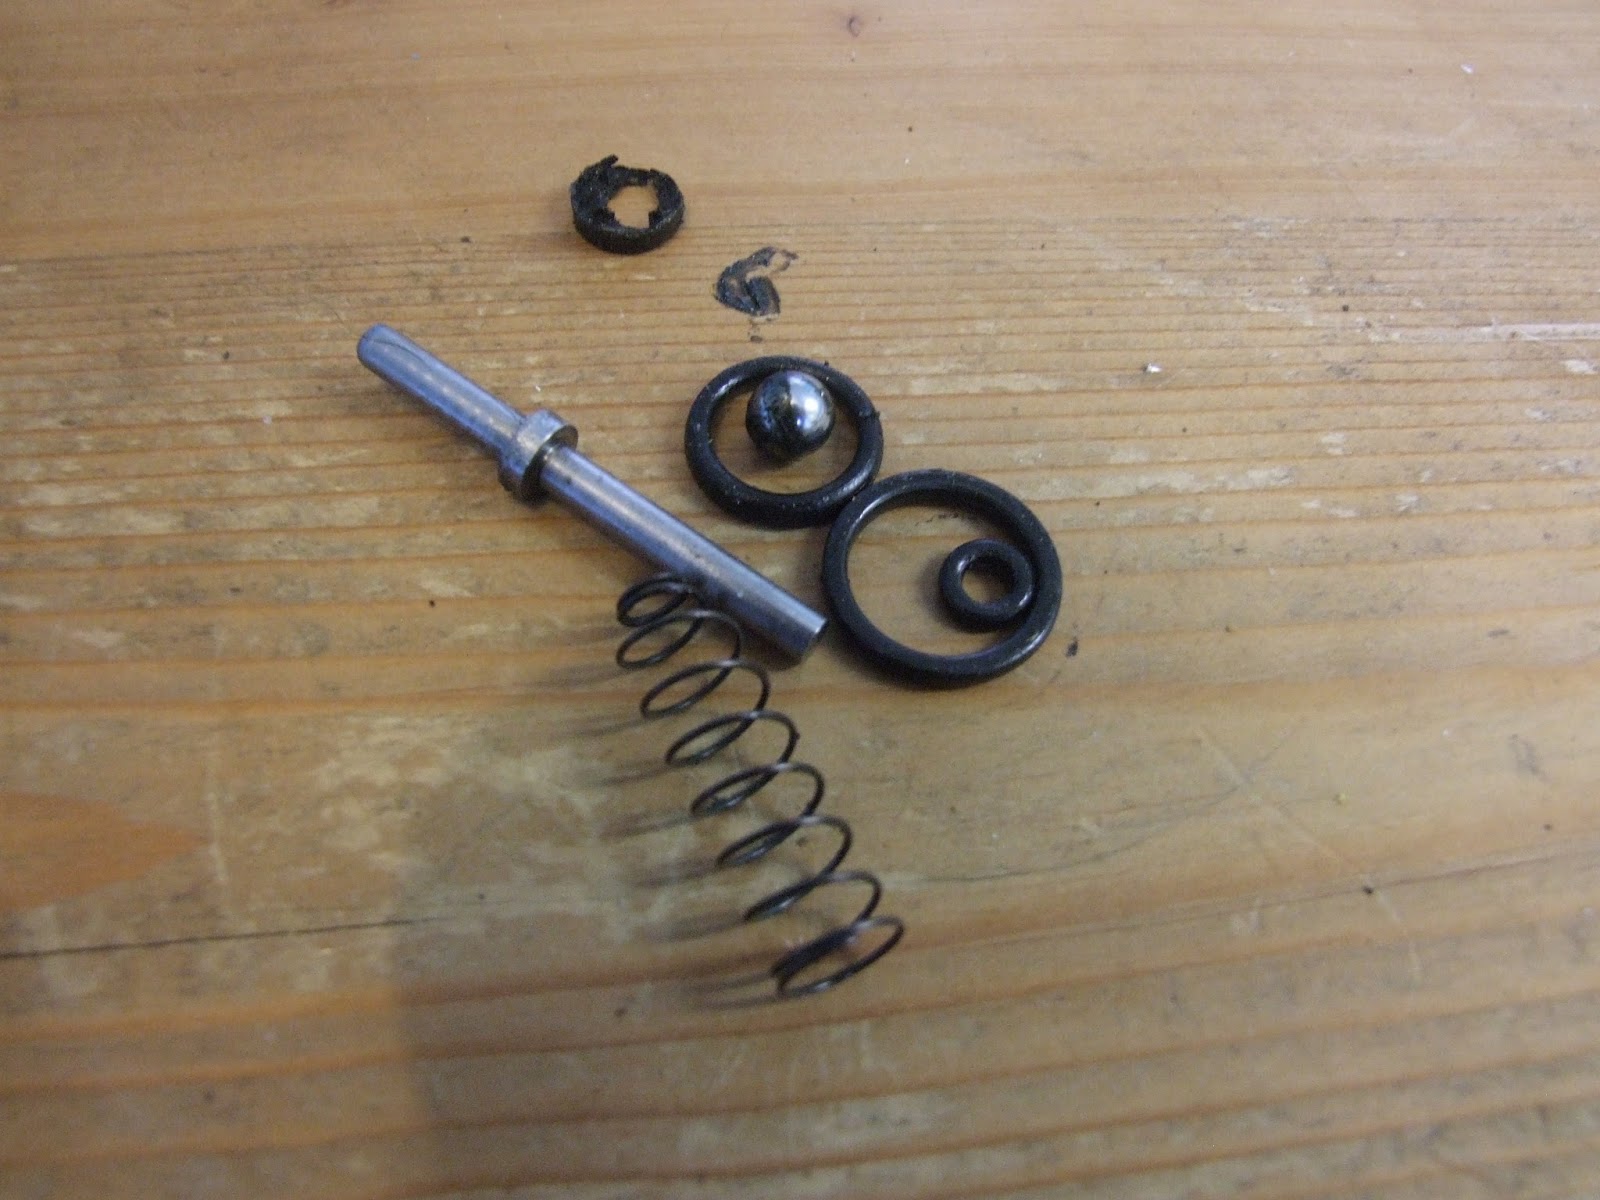
The T.R Robb exhaust valve repair kit, which consists of a stainless firing pin, exhaust valve spring, a red inlet packing seal, an inlet ball seal, two big O rings for the valve guide seal and chamber seal, and two small O ring seals for the transfer port and inlet valve seal. Also a blob of silicone grease for the seals and a small bottle of silicone oil for the pump rod seal.

It is important to have a clear working space so you can keep track of all parts that have been removed, I keep small parts in a tin as it's a real bugger if they get lost. I am lucky in being able to do my work on the dining table, however the dog thinks that the table is also his bed.

The dog whines a lot if I move him from his bed.

So here is the guide in all it's tedious, mind numbing, gut wrenching detail.

Remove the action from the stock. Then remove the circlip from the pin that connects the pump arm to the front of the cylinder. Drift out the pin with a suitable sized punch. The pump arm can now be removed through the pump slot in the cylinder - it may need to be wiggled a bit.

Pin and circlip already tapped out.

Next, drift out the smaller roll pin in front that secures the sight unit to the cylinder; this can be a bit stiffer but it will move more easier using the correct sized pin punch. 

Correct sized pin punch for the roll pin is important.

Grasp the sight unit and pull it from the cylinder, outer barrel and inner barrel. This may need a lot of wiggling if it's not been removed for a long time.


Pull the pump rod down to the front of the cylinder using the pump arm linkage and line up the pivot pin with the hole for the pump arm linkage and cylinder. Twist the brass pump arm pivot base a little so the pivot pin lines up with a hole on one side; only half of the pivot pin will be visible in the hole on the other side so tap it out from this side with a smaller pin punch. 

Old dart head makes an excellent small pin punch.

Remove the pump arm linkage from the pump rod and remove the pump rod through the front of the cylinder, push it out with a screwdriver at first, then pull it out the rest of the way.

Pump rod shouldn't be this greasy.

To remove the cylinder from the breech block, first remove the brass collar screw on the underside of the breech ...

Only finger tight , the stock screw locks the collar screw in place.

... then using a flat head screwdriver, remove the stud screw under this.

This stud screw appears to hold the whole rifle together.

Remove the spacer that sits between the bottom of the cylinder and breech block; use a thin blade to lever it out at first, then it should slide out by hand.

A little tab on the spacer is good for leverage.

Remove the cylinder with the exhaust valve inside from the breech block, this should drop into the breech hole and pull out easily, revealing the transfer port O ring on top of the cylinder.

Transfer port O ring seal is pretty swollen.

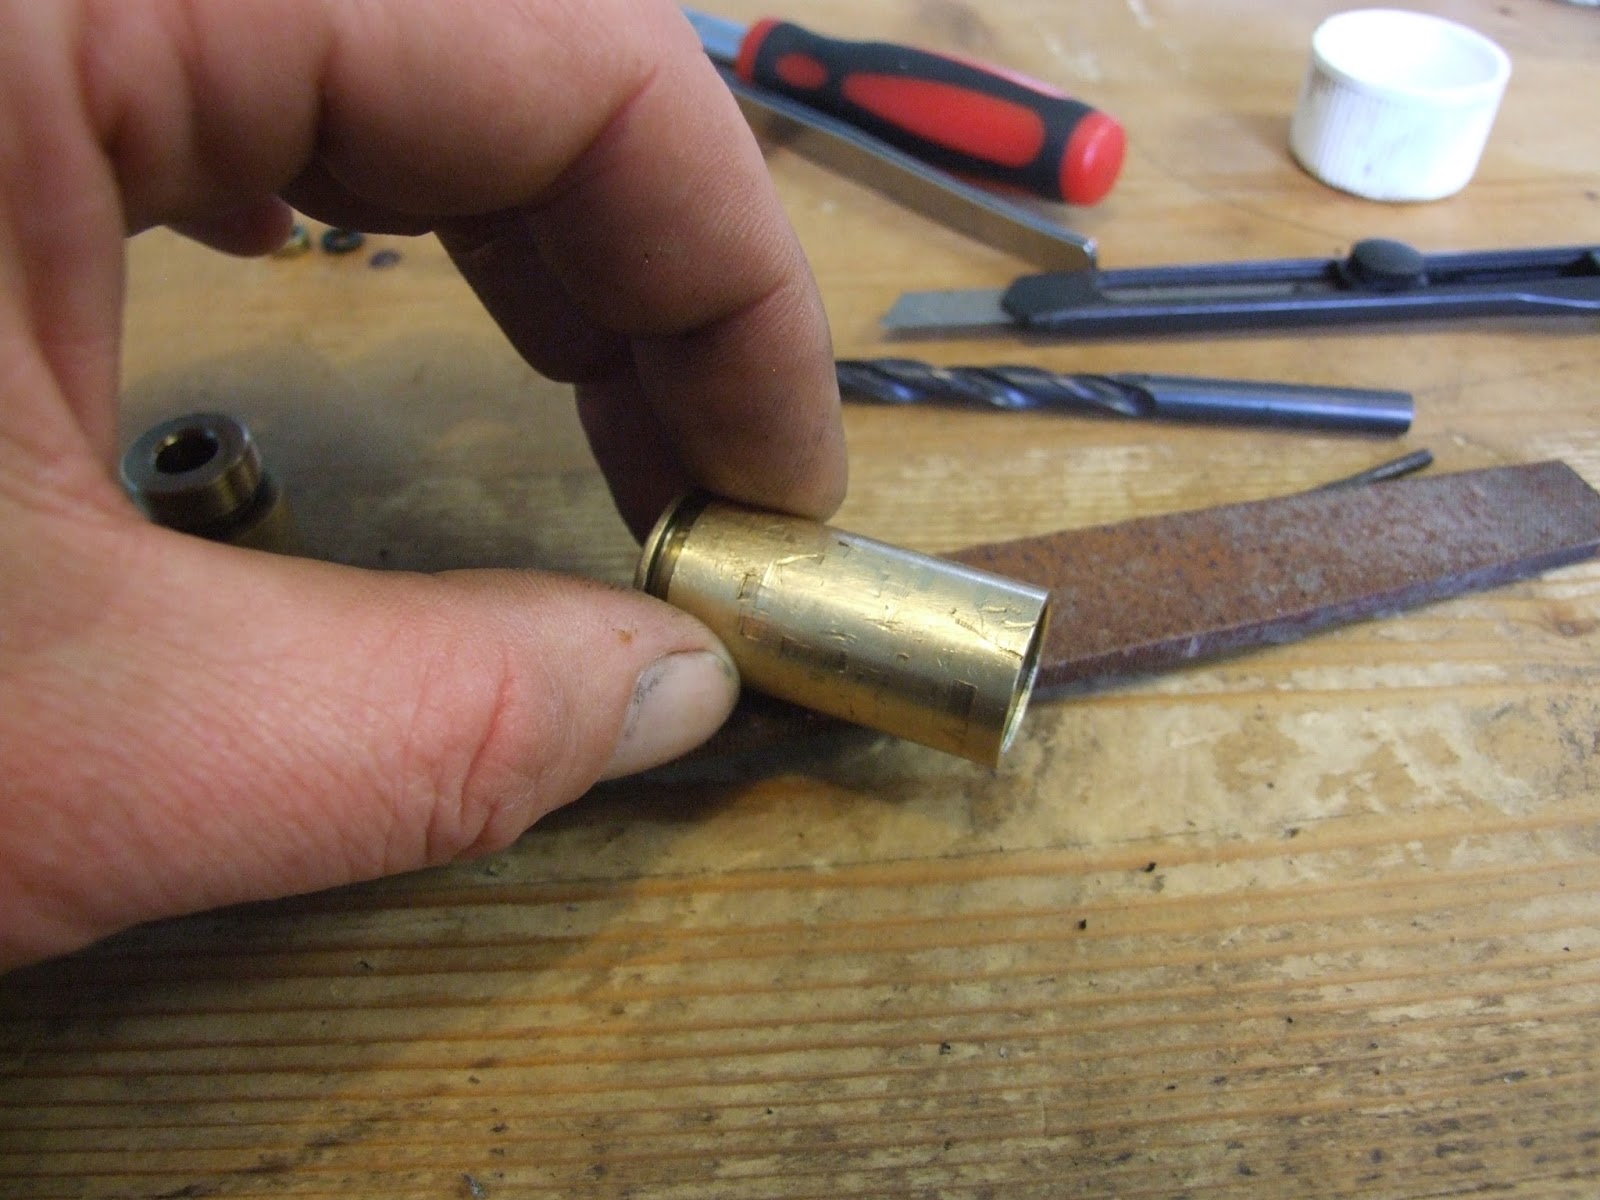
Unscrew the exhaust valve back guide from the cylinder end, this should move by thumb pressure alone.

If the exhaust valve back guide is ever too tight a tool can be made up to fit the two small holes.

Then remove the spacer with the bumper inside it, the exhaust valve spring, and bumper plate - these should tip out into your hand. Using a piece of dowl from the front of the cylinder, push the valve out of the back, then remove the firing pin from the exhaust valve.

Valve with firing pin, bumper plate, spacer with bumper inside, and exhaust valve back guide.


The exhaust valve unit consists of the longer air chamber and the shorter exhaust valve guide. Unscrew them; you might have to use mole grips at first as they can be tight.

Remove the valve spring and inlet valve ball from the air chamber ...

Split the valve parts to get to the air inlet valve parts.

... and the exhaust brass valve stopper and exhaust valve seal from the exhaust valve guide.

valve guide, seal, and stopper.

inside the air chamber, the inlet valve packing is held in place by the inlet packing stopper. Unscrew the stopper using a wide fat blade, and the packing should fall out.

Inlet packing washer well and truly stuck in there.

(In this case, the packing was wedged in tight and I couldn't even prise it out, I had to very, very carefully mill it out using a mini drill and small drill bit so as not to damage the air chamber.)

Note inlet packing washer dust around the air chamber.

Milling into one side of the packing then the other, it eventually came out, spinning up the drill bit, leaving me with a grubby air chamber.


Needs a bloody good clean.

Clean the area where the packing washer sits in the air chamber with white spirits to remove any crap that might hinder a good seal.

Kitchen towel wrapped around a pick really shifts that crud.

Prise off the exhaust guide seal from the exhaust valve guide and the chamber seal off of the air chamber.
  
Oh so handy pick in action.

Then, with kitchen towel and white spirits, clean the air chamber (inside and out), the valve guide, packing stopper and valve stopper thoroughly.

Decanting a bit of white spirits into the lid keeps the rest of the bottle clean.

I lightly ran the outside of the air chamber and valve guide over a file to smooth out any scratches caused by the mole grips

Wet and dry or sandpaper will do also.

All the parts being replaced were put to one side; they consisted of the firing pin, the remains of the packing washer, inlet valve ball, exhaust valve spring, exhaust valve seal, exhaust guide seal and the chamber seal. 

Old worn parts, look at the state of that old packing washer.

Place the clean and replacement parts in order ready for rebuilding, along with a small blob of silicone grease for the O ring seals.


Lining up the parts for reassembly makes the whole proccess a lot easier.

Take the air chamber, insert the new packing washer and prod it into place.

That pick came in handy for prodding the packing washer into place.

Then the inlet packing stopper, guide it into place with your little finger.

Inlet packing stopper screwed in finger tight.

Then tighten it down using a wide flat blade.

Even tighter, though a chisel blade would be better than using the spacer.

Drop the inlet valve ball inside the inlet packing stopper to rest on the packing washer.

Inlet valve ball just drops in.

Place the valve spring on top of the inlet ball and put the air chamber to one side.

And so does the valve spring.


Take the new guide seal, thumb it over the screw thread of the valve guide and roll it into its recessed groove.

This is the smaller of the two large O rings.

Smear a dab of silicone grease over the new O ring seal.

The O ring spins around in it's groove easily.

Smear the new exhaust valve seal in silicone grease and pop it into the valve guide.

This is the smallest of the two small O rings.

On top of this goes the small brass valve seal stopper.

Seal stopper just pops in.

Align the air chamber with the exhaust valve guide so the valve spring sits on top of the valve seal stopper. Screw them together as tight as can be done by hand compressing the new valve guide seal.

Screw all the way un till there is no gap squashing the O ring for a good seal.

Thumb the new chamber seal into place, smear it with silicone grease and put the whole valve to one side.

The larger of the two big O rings is a tight fit

In order to get the best seal for the pump head and chamber seal, the inside of the cylinder needs a good clean. A few balls of kitchen towel soaked in white spirits pushed down the cylinder with a piece of dowel will loosen any crap ...

There was a lot of crap all in all.

... then ram a few dry balls of kitchen towel through until the inside of the cylinder is clean and shiny.

Ooooh, oh so shiny.

Pop the shorter end of the new firing pin into the valve guide end of the exhaust valve and align it with the back end of the cylinder, making sure the transfer port is aligned with the transfer port hole in the cylinder, and the same with the the stud hole.

Lined up correctly and ready for insertion.

Push it in until the stud hole appears in the bottom hole of the cylinder ...

That pick came in handy again for centering stud hole.

... it should be nice and tight with the new chamber seal fitted.

the longer end of the firing pin reaches the end of the cylinder.

Place the bumper plate over the firing pin and let it slide down to rest at the stop in the firing pin.
 
I must stop biting my nails.


Making sure the bumper is inside the spacer ...

This bumper only came out of the spacer if it was pushed out, some can be loose.

... insert it into the end of the cylinder to rest against the exhaust valve.

It really doesn't matter what order they are put in, as long as they're in the right order.

Place the exhaust valve sping inside the bumper to rest against the bumper plate, making sure the wider end of the spring is facing to the rear to rest against the exhaust valve back guide.

The valve spring must go in this way round.

Place the exhaust valve back guide on the spring, push into place and screw in by thumb.

Really needed that new exhaust valve spring, the old one barely pushed the back guide past the end of the cylinder.

Now the cylinder and valve can be returned into the breech, so with the old transfer port O ring seal out of the way, put a dab of silicone grease on the new O ring seal and press it in place around the transfer port.

The silicone grease helps the transfer port O ring stay in place.

When inserting the cylinder back into the breech, the cylinder is best pushed in along the bottom of the breech hole to stop the transfer port seal from moving out of place. The cylinder will stop short of the back of the breech hole, so pull the trigger and slide it back further until the stud holes in the breech and cylinder line up.

The hole in front of the stud screw is for a stud screw that pushes the spacer against the cylinder on most Innova's, not this one though.

Screw the stud screw back in lightly and slide the spacer into place so the forks of the spacer sit either side of the stud, then tighten the stud screw fully and screw the brass collar back onto the stud screw.

Only needs to be finger tight.

Fitting the pump rod, pump arm and linkage and front end sight unit is simply a reversal of the disassembly process.


I changed adaptors on my Deben Whisper silencer and fitted it to the action  so as not to piss off the neighbours, then it was off to the shed for a test of the muzzle velocity over the chronoscope.

The Deben Whisper comes with four adaptors, and I still can't use it on most of my air rifles.


Really must sort my shed out.

Two pumps gave me 257 FPS with 14.5 grain RWS Superdomes, which equates to 2.13 ft/lb.


Three pumps gave 392 FPS with Superdomes, which is 4.95 ft/lb.


Four pumps gave 463 FPS, which is 6.9 ft/lb.


Five pumps gave 501 FPS, which is 8.08 ft/lb.


Six pumps 550 FPS, which is 9.74 ft/lb


Soon after that the blow off valve cut in, but I was getting around 560 FPS by that time. This took the rifle up to just over 10 ft/lb.

Fitting new O ring seals to the loading bolt should up the muzzle velocity, given the state of all the other O ring seals they are most likely failing at the moment. Then if the muzzle velocity still needs to go up, I can adjust the blow off valve higher.

TTFN

All the best, Wing Commander Sir Nigel Tetlington-Smythe.