|
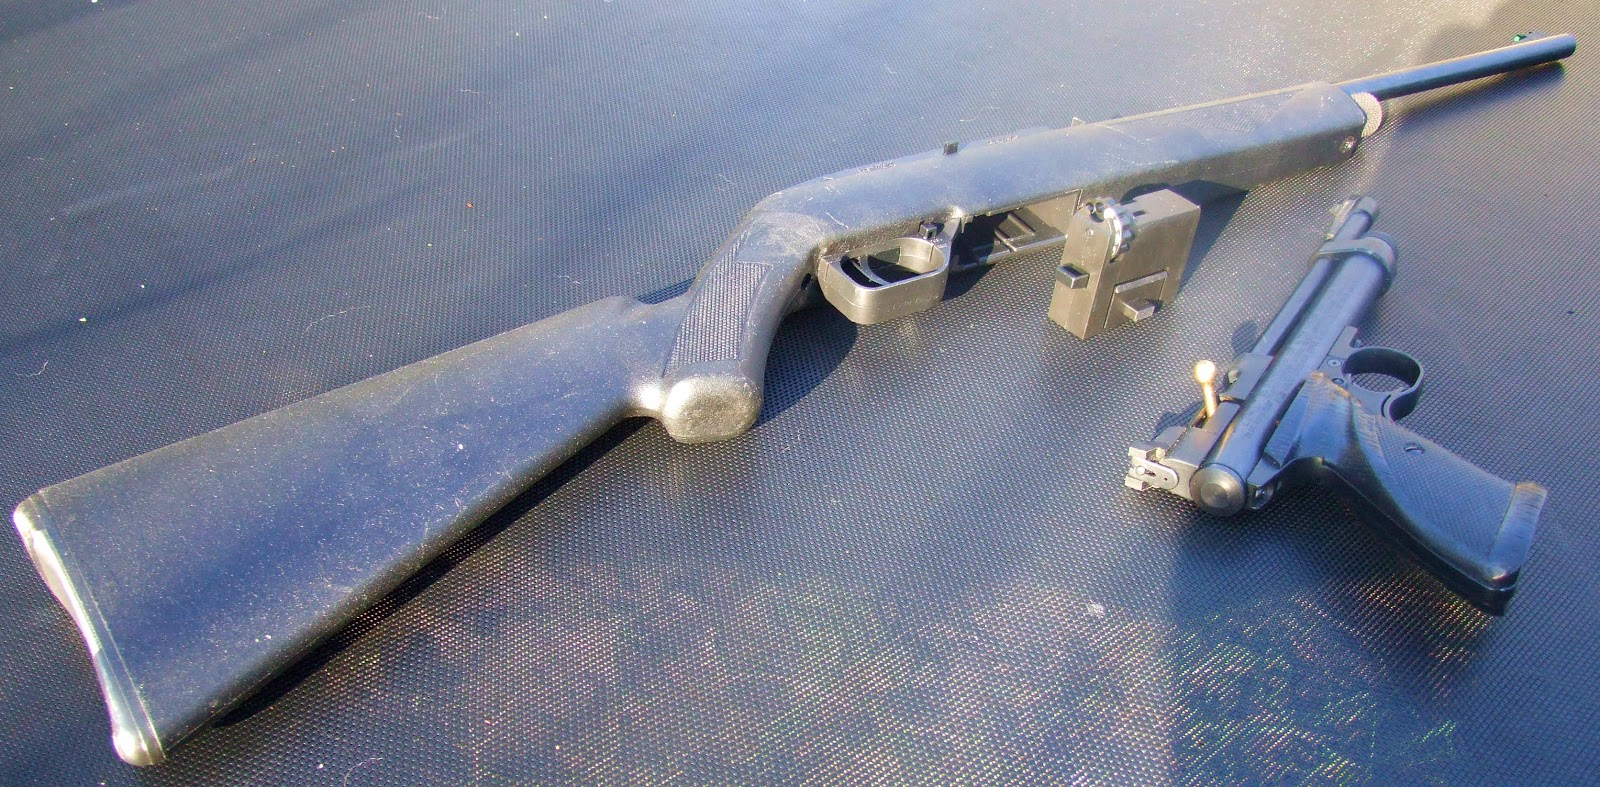
| Action and stock |
Taking the stock off the Tornado was just a matter of two flat head screws on the fore stock and the front flat head on the trigger guard, though i had to screw the sear adjustment screw right in as it's in the center of the trigger guard screw.
 |
| Front trigger guard screw with sear adjustment screw in side that |
 |
| Unscrewing cocking linkage from the under lever cocking arm. |
 |
| Leaf spring holding the articulated cocking linkage against the piston cylinder, for stock screws also screw into the sides of the metal bridge |
 |
| Two inches of preload on the main spring. |
I compressed the end cap in a smidgen and tapped out the securing pin and released the pressure, two inches of preload on two springs one within the other running concentricly came out.
 |
| Both inner and outer springs look okay. |
 |
| Nylon piston seal replacing the original leather one. |
However the piston was a real bugger to remove and needed some real force at times, there was a nylon solid piston seal with a bit of metal showing on one side when it should have been a leather two piece inner and outer seal which is held on to the piston head by a metal rivet.
 |
| Relum Telly ready to come apart. |
 |
| Some very worn springs indeed. |
I put the Telly in the spring compresser and repeated the same procedure, this time there was a fairly healthy leather piston seal but both springs were buggered. Even the inner spring was to short or compressed and some plastic tube lid had been shoved in there to take up the slack, both springs were worn with bends on them.
 |
| Telly piston on the left with leather seal for the Tornado, next to the original piston. |
So i decided the healthy springs from the tornado would go back in, and the piston with the leather seal from the Telly would be the better option. Also the trigger and sear pins from the telly would be used ,as both pins on the Tornado had snapped in half.
I cleaned the inside of the piston cylinder first with wet and dry dipped in white spirit on the end a piece of 6mm aluminium tube, this has a slit in the top so it can clamp around the edge of the wet and dry which is then rolled around the tube. Though if there is a lot of crud inside the cylinder you could pop the tubing in a drill and shift it a lot quicker, but i prefer to do it by hand as you can take a little more care doing it.
 |
| Aluminium tube with wire wool dipped in white spirit cleaning the inside of piston cylinder. |
Repeated the same procedure with some 0000 wire wool wrap around the end of the tubing, this takes a bit longer as i really want to polish the cylinder up. i followed up with kitchen towel and white spirit to remove any thing inside , then polished it again with autosol and kitchen towel to give it a really good finish.
I did pretty much the same thing with the piston out of the Telly with the leather seal , and let about 10 drops of Abbey SM50 soak into the leather for a good hour. I cleaned the springs with white spirit and sanded then polished the ends, then polished the end cap and as much of the inside of the piston where the springs touched. At a later date i will have to knock up a slip washer and top hat, but that will be at another time, not now.
 |
| Trying to polish the inside of the piston |
Dabbed a little SM50 around the piston seal and some Abbey LT2 grease around the rear of the piston and pushed it in to the cylinder, it was a firm fit and a lot easier to slip in than the old piston. then dabbing a little LT2 grease over the first half of the springs , i took a cloth and ran it around the coils so the excess grease spread even and thin along the whole length as to much grease can bind and slow the spring movement.
The barrel, cylinder, and piston were taped onto the spring compressor and both springs placed within with a dab of grease at each end,the end cap from the Telly was placed at the end and then compressed.
 |
| Cleaned, polished, and lubed, the end cap is lined up for the pin holes. |
I also used the end pin from the telly and tapped that into the end cap when it was aligned, and the original sear, trigger, and spring were fitted with the pins from the Telly.
 |
| Cocking linkage ready for a touch of LT2 grease and slipping through the bridge into place. |
The cocking linkage was a lot easier to reinstall than it was to take out, and the linkage pin screwed back in.
 |
| The Telly's trigger, sear and spring next to the tornado trigger show how they work. |
As the Telly trigger guard stock screw didn't have an adjuster screw, the original was used when the stock was screwed back on, and then the adjuster screw was screwed back out so the sear would engage.
 |
| Trigger gaurd stock screw with sear a adjusting screw inside that. |
With both fore stock screws put in, the rifle was ready to test, it was definately a lot easier to cock now so some good was done. After loading a pellet in the loading tap i fired a shot at the target board, the trigger was stiff and needed adjusting and i could feel the main spring twist the rifle in my hands when firing.
Oh well, a top hat and a slip washer needs to be made at some point to stop the rifle from twisting, as for the trigger i reckon some adjustment and a good polish of the sear contacts will sort that out. In fact an aluminium piston head with an O ring seal instead of the leather seal could possibly increase the swept volume a little, but these are the things of future work and blogs.
 |
| Relum Tornado with Crosman 4x15 scope. |
TTFN
Wing Commander Sir Nigel Tetlington-Smythe.